Friday, November 30, 2012

Post inspection fallout


So our inspection day is finally here. I had a list of things to get done before he showed up and I got all of that done. One was a landing in the garage. The drop was 12 inches so it needed the landing. I guess the timber we had there wasn't to code.

A new landing

Anyway I waited all day for him to show up so I worked on getting the office furniture together. We've been waiting a long time to be able to do this.


First the desks themselves
Then I built the hutches.
We'll be a while turning boxes into useable stuff.

This should get rid of a few boxes from the garage, which by the way, is starting to look a lot emptier.
Tomorrow I start on the items he found in his inspection.  I guess we have to cover all the insulation and foam walls so as to prevent any damage to the insulation. Hoo Boy. More on all of that later

Len


Monday, November 26, 2012

Flooring....check!

Len was surprised that it took a whole week to finish the flooring, but I'm not.  If you had watched Len put in tiny little pieces with great accuracy, sometimes going to the shop 3 times to cut a complicated piece, as I did, you would know why it wasn't done sooner.  But it is DONE RIGHT!

Working toward the office and back hall

Yes, there is a pattern here

Mr Clamp-it strikes again
Finished railing - now we are safe!

First Picture up in place

Finally in the office

The finished floor

Back hall done

Front hall

The very last piece

The next step toward getting our final inspection includes such exciting items as putting carpet up in the garage loft, some plumbing work and a few other odd bits.  We'll keep you posted.
Cath

Wednesday, November 21, 2012

So this is what a house looks like!

When we got the great room and dining area done, it was out to the garage to retrieve some furniture that had been stored for 18 months.

Dining area

Great room by the fireplace

Cath's reading nook

Bowling anyone?
 Today Len has been working on fiddly bits around the posts near the kitchen.

Every piece carefully fitted

Of course we had a big dump of snow so the trips out the shop are chilly!

Len has worn a path back and forth

In a day or two the kitchen should be done.  Watch for pictures then.
Cath

Monday, November 19, 2012

Bamboo flooring learning curve

It was the weekend we have been waiting for.  For months now, we have had piles of bamboo flooring in the great room, waiting for the day when it would finally go down.  This was THAT weekend.

The first thing we did was to thoroughly sweep and vacuum the area and move everything out of the way.  Of course that meant that all those items were now shoved into a smaller area.

All clean and ready to roll 
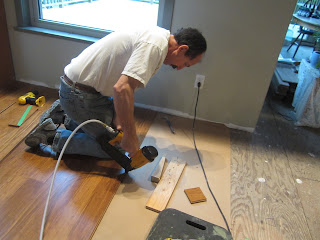
Then Len tested out the flooring nailer which seemed to work quite well on our test strip.  But there was certainly some learning to be done.  The bamboo is quite brittle and not that easy to work with.  Most of the planks are quite straight, but some are a bit bowed.
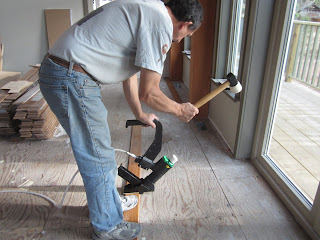
Wack-a-mole anyone?
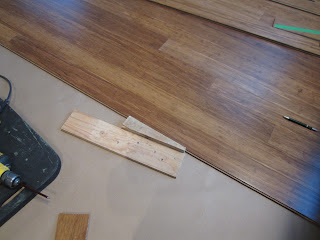
 We also ran a line to keep everything straight.

The first two strips ready to go in
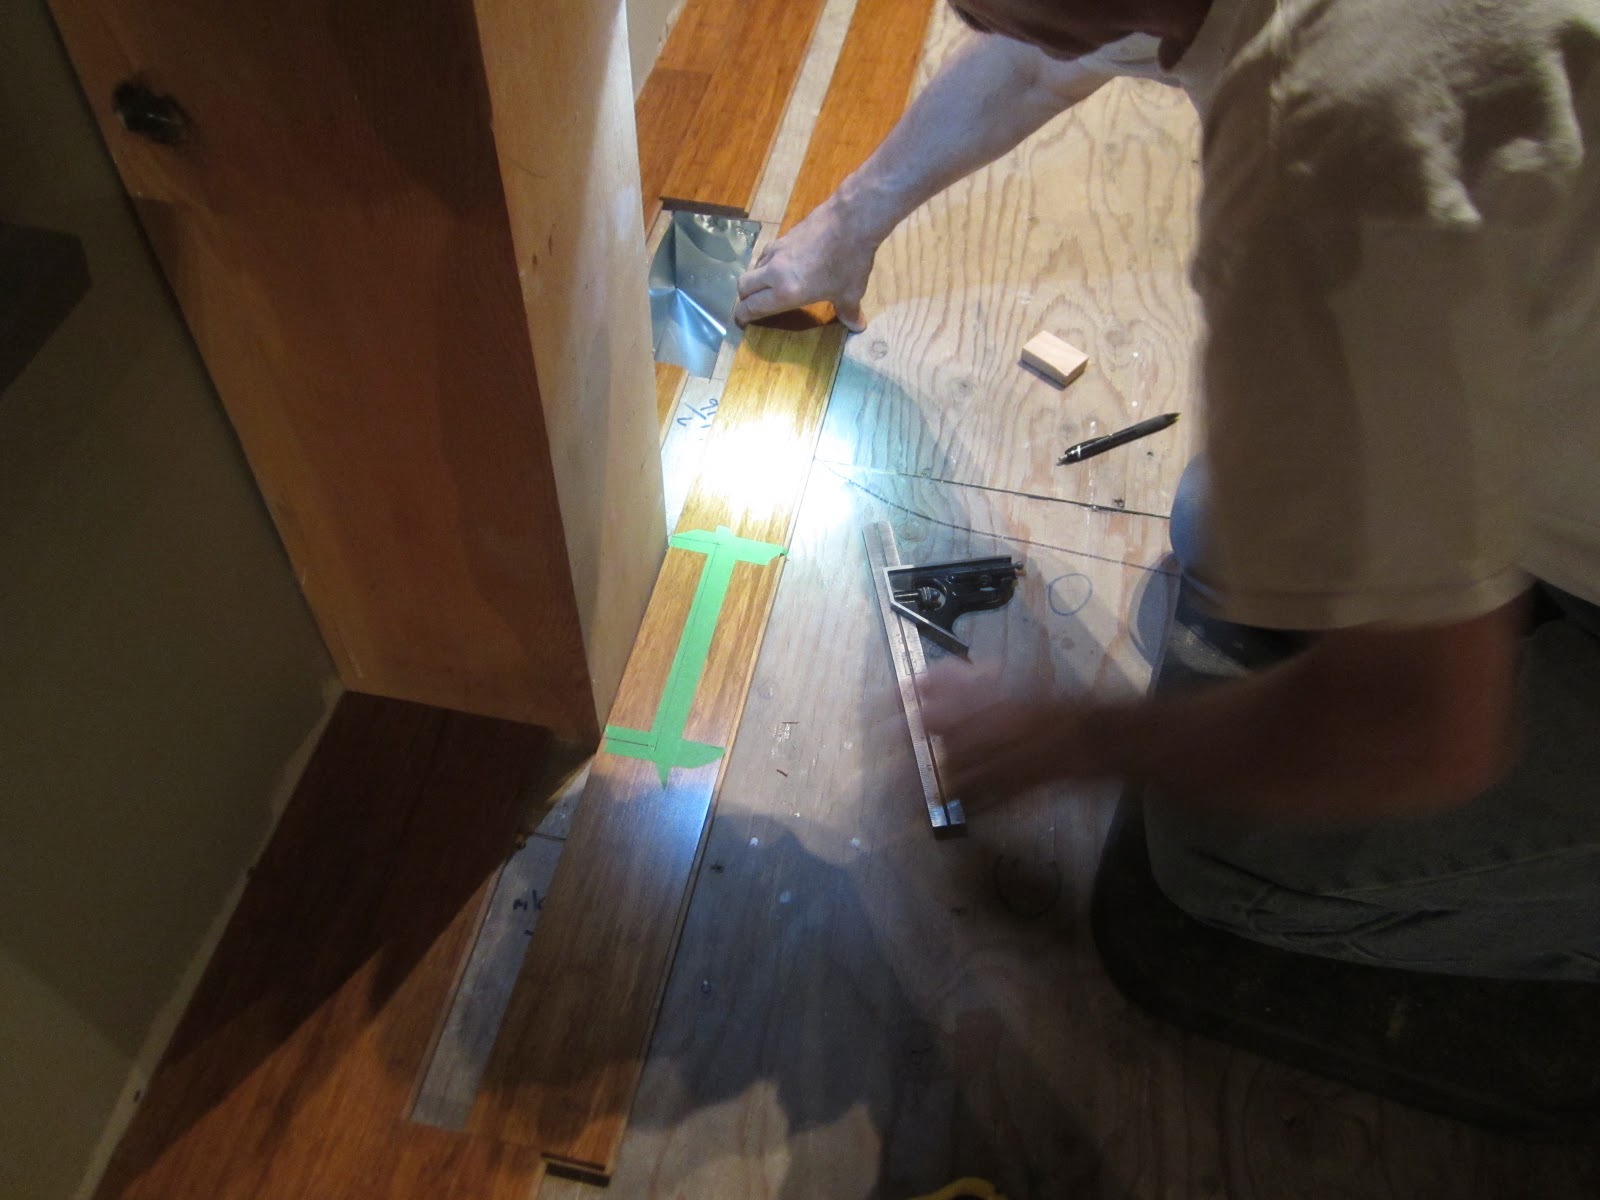
 Len had to work around the vents and posts.  And guess what, the posts have shifted out of square as they dried, so it was even more challenging.
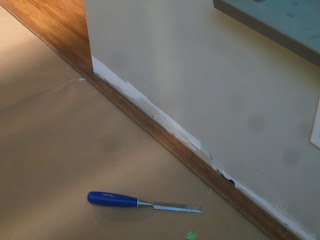
Len marked the area then cut it out using the table saw and chisels

Putting in the next row

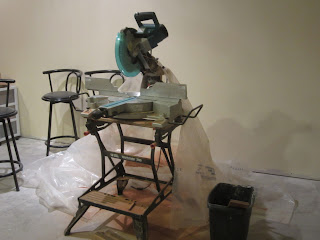
The chop saw is down in the basement so every cut means exercise
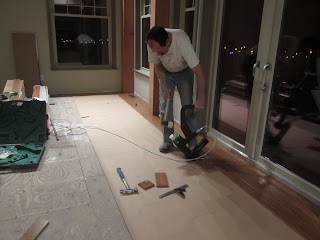
As we progressed, we noticed that the big floor nailer was leaving some marks on the boards.  Len tried to adjust it, but soon realized that there was just too much pressure on the small and brittle edge of the planks.  So he got out the trusty brad nailer and has been using it instead.  This means that we have to do all the fitting by hand as there isn't the big wollop when the nail is put in (with the big nailer, it moved the planks together tightly).  Len devised a method to get it really tight - first the hammer., then if it is resistant, he uses a wedge.  One part is screwed to the floor and then he puts the wedge next to the plank and hammers the wedge in to tighten the planks.  It works like a charm!
Using the brad nailer
When we can't get a tight fit by hand, Len uses his "wedgy" device

A small strip had to be cut to continue into the dining area

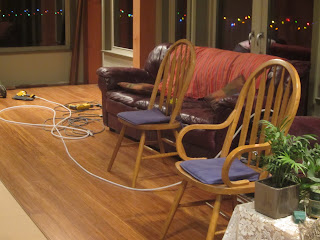
The completed area with the furniture "stored" out of the way for the rest of the floor

 One other small accomplishment on the weekend was putting up the Christmas lights.  We opted for low-tech this year and just wrapped them around the deck railing.  Does look festive.


Wednesday, November 14, 2012

3 hours 3 pieces

My helper, Kyla has left after great progress on the garage loft drywall.  I spent the whole next day finishing up with lots of screws and fiddly bits.


Bit of a mess but finished


Before Kyla left we did a bit on the stairwell where two bodies were better than one. We constructed a platform which works quite well.  I'll keep the pieces for later when I mud and paint the high parts.

The platform from underneath

Placing some backing for the drywall

I'm not the only one moving fast around here

Cutting for stairwell, notice the very handy head lamp

Ladders 'R us

One pile of drywall finished

A new pile shows up


So I am tackling the hardest pieces on my own. This means getting creative with the lift.  It doesn't really fit in the narrow stairway so I have to fold up the legs. This makes it very unstable. Solution: tie the legs through the floor. This worked quite well all in all.


Tight spaces

The fix

Up she goes for the ceiling

A good fit, now screw the dickens out of it


The finished product.

Just have a couple of pieces to put on at the top of the stairs and then tomorrow I will do the garage/house wall. This is a code issue as well. Then, yes you heard it hear first, I am going to start the flooring. A bit more leveling and paper to put down but I am ready to go.


Monday, November 12, 2012

Angles of drywall

This weekend Len and Kyla put their heads together to figure out all the various angles of the walls and ceiling in the garage loft.  Who designed this place anyway?

It was great to have Kyla to hold, lift and cut.

Angles and beams
In the bathroom
Fun and games

Meanwhile I got the master bath painted and tried out a new colour for the interior doors.

The master bath "cut-in"
New improved colour for the doors
We also took time to enjoy a couple of meals together and we watched a couple of movies and went for nice long doggie walks.

Waiting patiently - can we go walkies now?
I am off to Cranbrook  and Vancouver tomorrow and Kyla will be headed home, so Len and Banjo will be on their own until Friday evening.  I am hoping to see flooring started before I get back.  We'll see how long the drywall in the stairwell takes - it could be a long job without any help.

Happy Anniversary  (yesterday now) Mom and Dad!

Cath