Monday, August 15, 2011

Doors and dirt

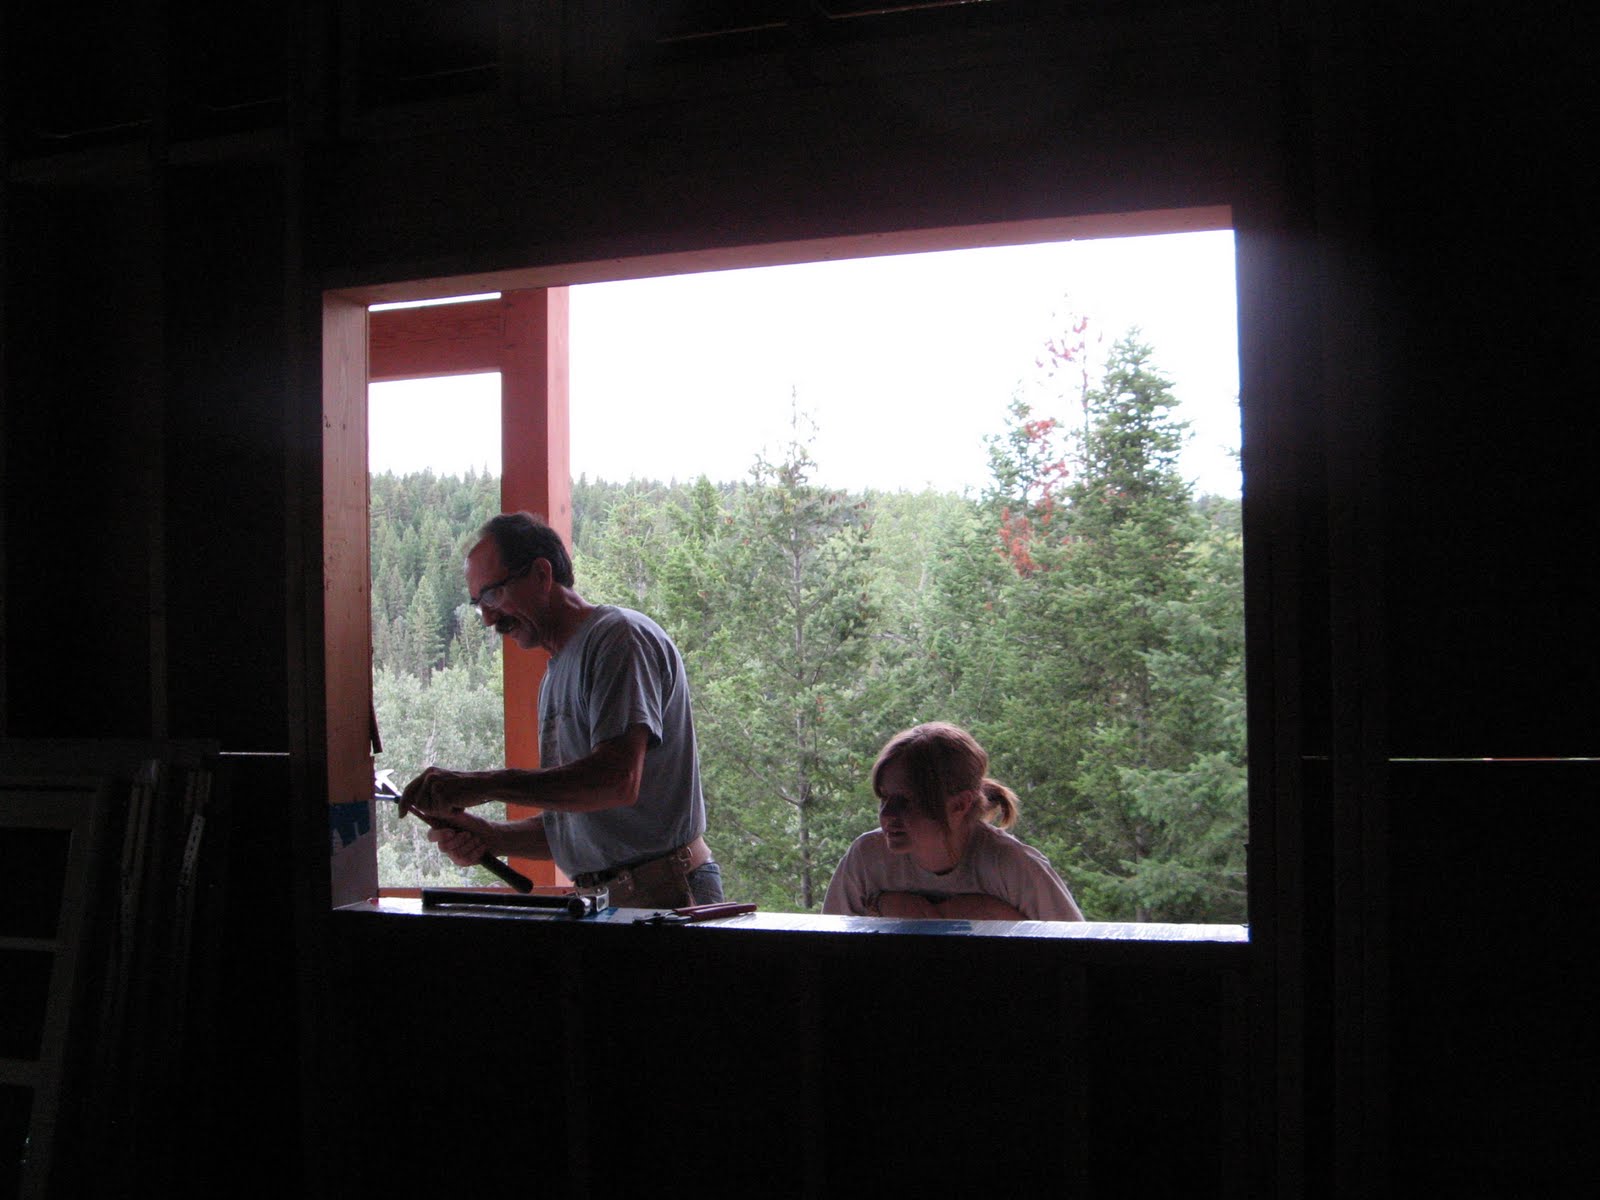
This is what happened this weekend.  The weather was  pretty nice so we spent both days outside.  In order to get to putting up the decks - necessary for getting the upper windows put in - we need to side the area under the deck .  In order to get to siding, we need to trim the windows.  So that is what we did.
The metal colour contrasts the trim.  We have piles of it and so that is our story.

2 bits of metal on the bottom around the trim

Two more at the top 

Finished, sort of

The ends of the trim need painting  and we need to shoot foam around it but otherwise the window is done.  Meanwhile, Cath was shoveling and raking the topsoil that Len dumped using the backhoe.
The black earth is the good stuff

More piles to go.  Also, note the supports for the deck in place.
 The next trim to go up was around the basement door.  In order to do that, the door needed to be fit and leveled and the hardware installed.

After much jimmying the door is level all around

Scary to drill such big holes in the beautiful fir door, but it all  worked out.

Yes, he chiseled it all by hand

Now the trim, and metal bits too

Ta da!  A beautiful door.
Len moved the temporary front door to where it belongs.
Right now it is a door to no-where between the garage and the main house..

To get the front door in, Len needed to complete the front porch.  Here the last screws are put in place

A shot of the new front door in place but not stained yet and without its hardware.  It was already dark and time to quit.
So that was the end of the weekend - lots accomplished and lots more to do.  Talk soon!
Cath


Saturday, August 13, 2011

Not your average log splitter


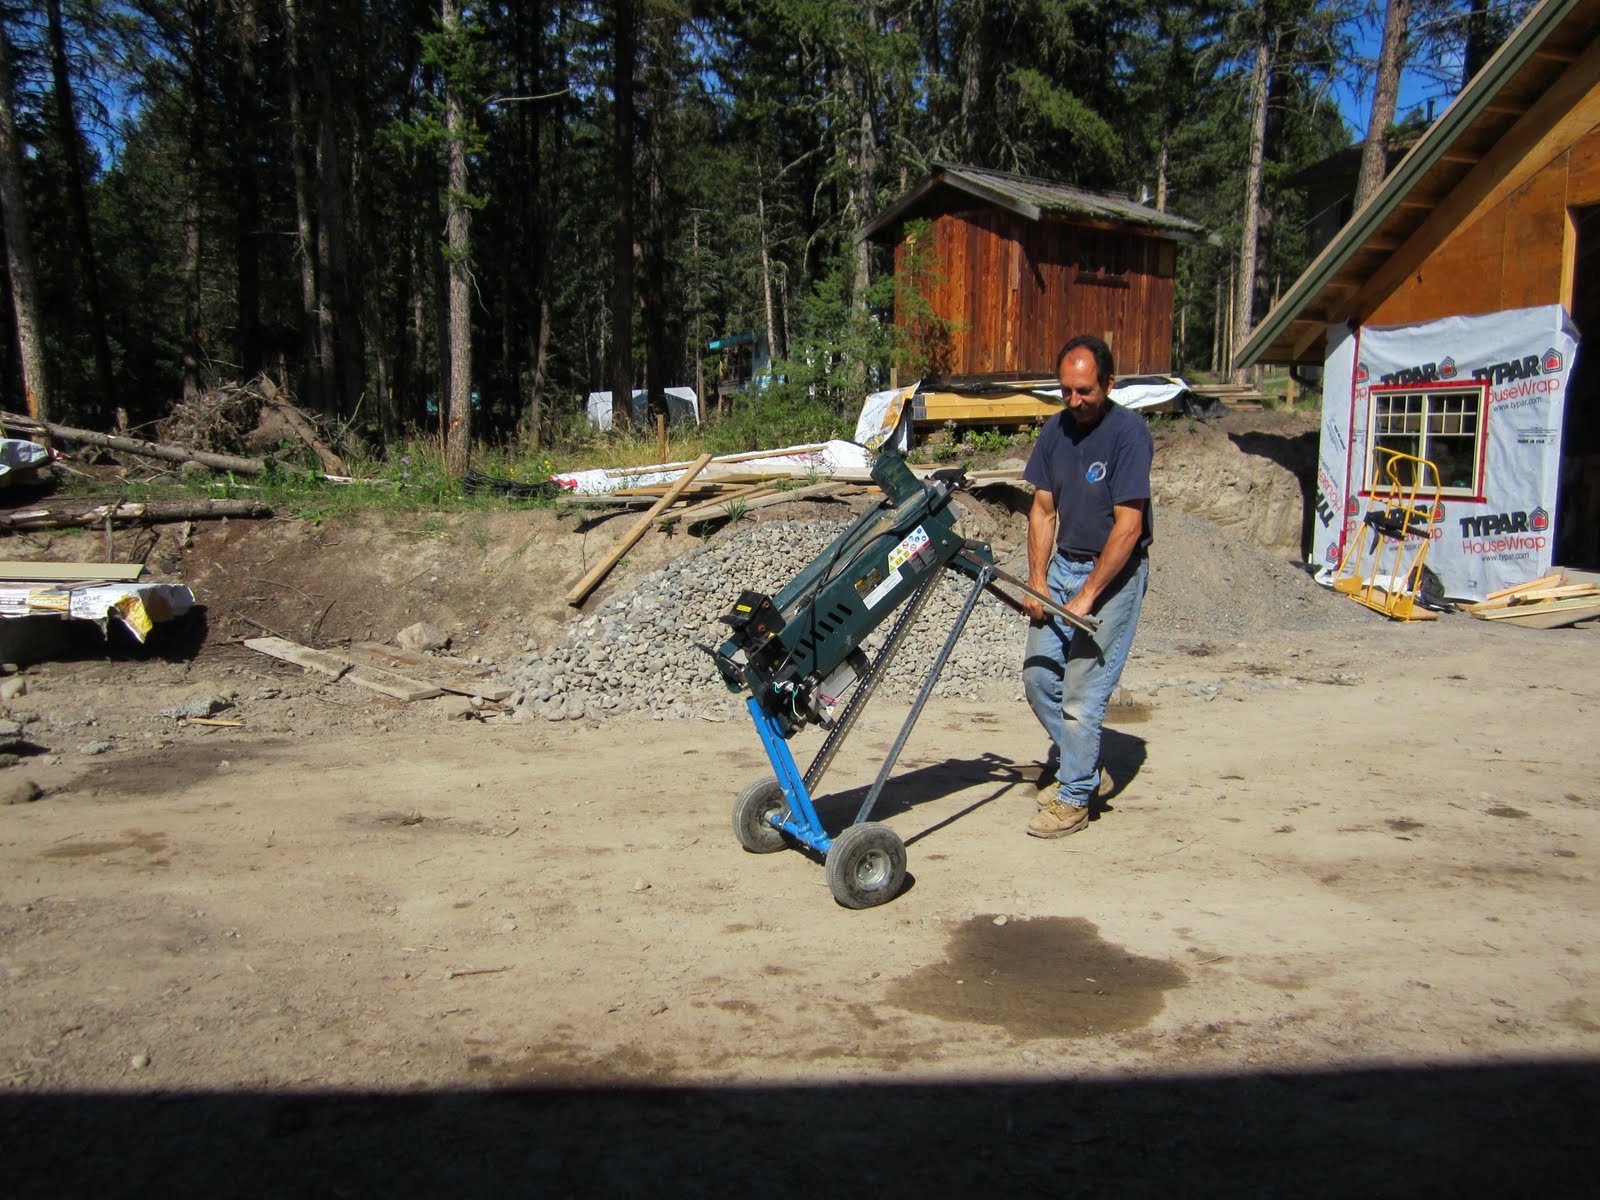
When Cath and Melissa did some log splitting they found it very inconvenient and hard on the back.  "Can't you do something about that?"  was the cry.  "Why yes, let me rebuild that for you" was the reply. 
In the shop- wheels and axle from our dolly

The craftsman

Able to make it work despite being crowded and disorganized

See how easy it is to move?

Time out to enjoy a fire in the new fire pit spot and try out the new camera's self-timer

All Terrain Maximum Convenience Log Splitter - the way they should be built to begin with.   Dave, notice where the button is now.  Also, it is painted two tone green and black.  Now back to working on the house.

Thursday, August 11, 2011

You Asked For It

I have received a lot of letters lately asking about the post piers so I have decided to show the technique in a step by step photo essay.

1. First you must create some art to enable the lifting and placing of the block not to mention the creation of the block itself but that's another story.
Ain't it lovely
2. Make an incision, surgeon-like and dig a hole with the big yellow tractor, to a depth of 42 inches. (Code)  Do NOT HIT THE HOUSE. Not to mention the close proximity of the trees.

Precision surgery
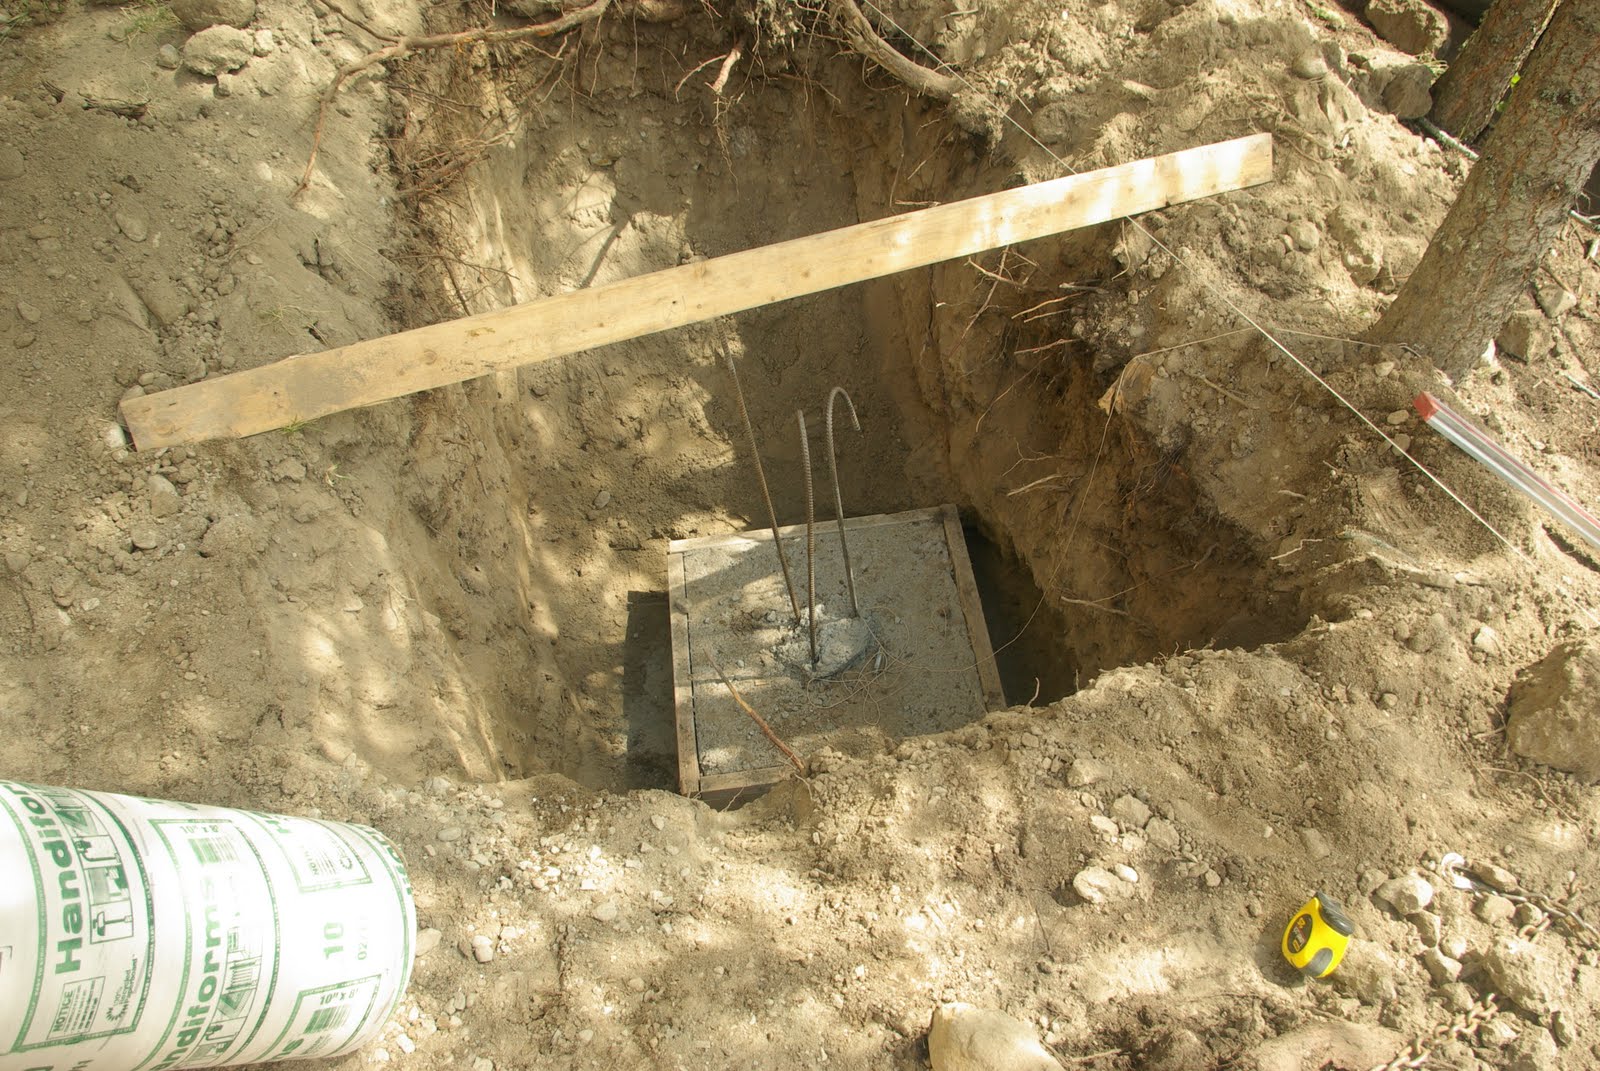
3. Spend some time leveling up the bottom of the hole and then drop a bag or two of concrete mix to set the block on. This will harden as time goes by.

All ready to go
4. Again with great precision, place the pad in the cavity

Mind the flora
 5. Get in the hole and muscle the block around and into position.  Be sure to do this in the heat of the afternoon.
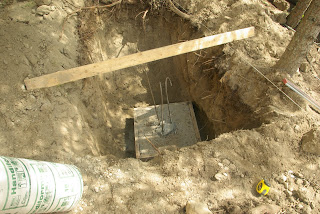
Under the string for alignment
 6. Place a precut sonna tube over the rebar and on top of the block. Tube should eventually be a couple of inches above grade after backfill. Check approximate level and position of final post, then lock in the base with cross members so no movement will occur as concrete is dropped into the tube.
The tape measure is for checking the distance from the next post. (9' 7")
 7. A final leveling of the tube is done and it is secured to cross members. These boards are secured to stakes in the ground with screws and the tube is screwed to them. This is one area where you can really get screwed so care must be taken.
All ready to go
8. Now you must lift heavy objects. This is where a lot of people stop and call in a professional. The bags of premixed concrete, gravel and sand are only 50 pounds each but after 44 of them maybe it would have been a good idea. Place the bag in the wheelbarrow and pour out the mix. Add just under 3 liters of water and stir. A lot. When it is all oogy and gooshy you are ready
Not oogy and gooshy yet
 9. Using a good strong shovel and with precision, place the concrete in the tube. You will find that it takes a heck of lot more concrete to fill this tube than you imagined. Push on and four or five bags later you will fill it up. Use a scrap piece of lumber and smooth out the top.
A thing of beauty
10. Finally and most importantly is the post saddle. Using your alignment string push the pin of the saddle into the wet (important note) concrete. Check for alignment to string and distance to next post. Place a level on the top, lightly, and check for horizontal.
All level
11. Go have a beer

This next photo shows what happens when you put your gutter drainage system in before your deck piers. A small detour had to be created. I am still waiting for a good rain to test out this system which includes the shop roof as well.  Ross says we could probably put a power turbine on the flow and sell back to hydro.  We'll see.
A little zig and zag

Admiring my handiwork
Please keep those cards and letters coming in and I will keep digging

Len

Wednesday, August 10, 2011

Deck Posts "R" Us

Digging and setting post piers is not brain surgery but getting the first two in is important as far as keeping everything square for later construction. I wanted to make sure it would be square to the front of the great room.  I guess we'll find out later. The hardest part is setting the square block in the bottom and getting it level.  I dropped a couple of bags of cement in first. These will harden up with the moisture from the ground.
All braced up and full of hand mixed concrete

Looking down the line of what will soon be eight deck piers

The finished product
When it starts raining again we will start on the wiring so all of the tools that were in the living room had to go to the shop.  The room is good and bare now.

Looking through the office wall to the great room
More concrete today.

Len

Sunday, August 7, 2011

A garden is born

Lots going on today mostly due to the good weather we are finally in the middle of.
I am finishing the gutters on this side of the house and the shop as they are all tied into the drain system together.


This corner was over the wiring so I want it to dry out

A little visitor we had 2 days in a row
 Since the cable is finally buried I started moving our huge pile of very nice forest loam.  There are piles of it all over the place now.
A pile for the garden that will also cover a large concrete mess from the truck

Oops, I buried this little guy so now it will have to be moved
Cathryn has started some preliminary garden landscaping after the loam was leveled out a bit.  She is doing a little terracing for now to capture some moisture.  Even transplanted some native plants from our forest.

A job well done
 After moving about 20 buckets full of dirt I started digging the corner hole for the deck post.  I am going to do both corners first so we can line up the other six.
Too much fun

First base in place
 I put 2 bags of dry cement mix in the bottom and then used the backhoe to place the pad in the hole. The moisture from Mother Nature will harden up this concrete over time. Tomorrow I will set the Sonna tube in place and mix concrete to fill it.

Next was the mounting of our 200 amp service panel to the utility wall.  Everything is ready for the electrical contractor to come and hook us up.  BC Hydro will remove the meter and the equipment from our pole and Garth's Electric will replace the meter when the hookup is complete.

One more step and then we are on our way for wiring
Cathryn is off to Victoria for a few days so Banjo and I had better get some work done.

Len

Wednesday, August 3, 2011

Broke the camera

We have been taking so many pictures of so much work that we broke the little camera.  We are now using the SLR Pentax and trying not to kill it as well.

After Victoria and Melissa left, Len continued to work on the trenching of multiple lines - electric, cable, telephone, drainage....  He loves to dig!
In a hole with all sorts of pipes
Now fill in where  you just dug it out


I finished painting a few doors and did some ( a little) shoveling and digging too.

Painting pocket doors

A nice cream colour

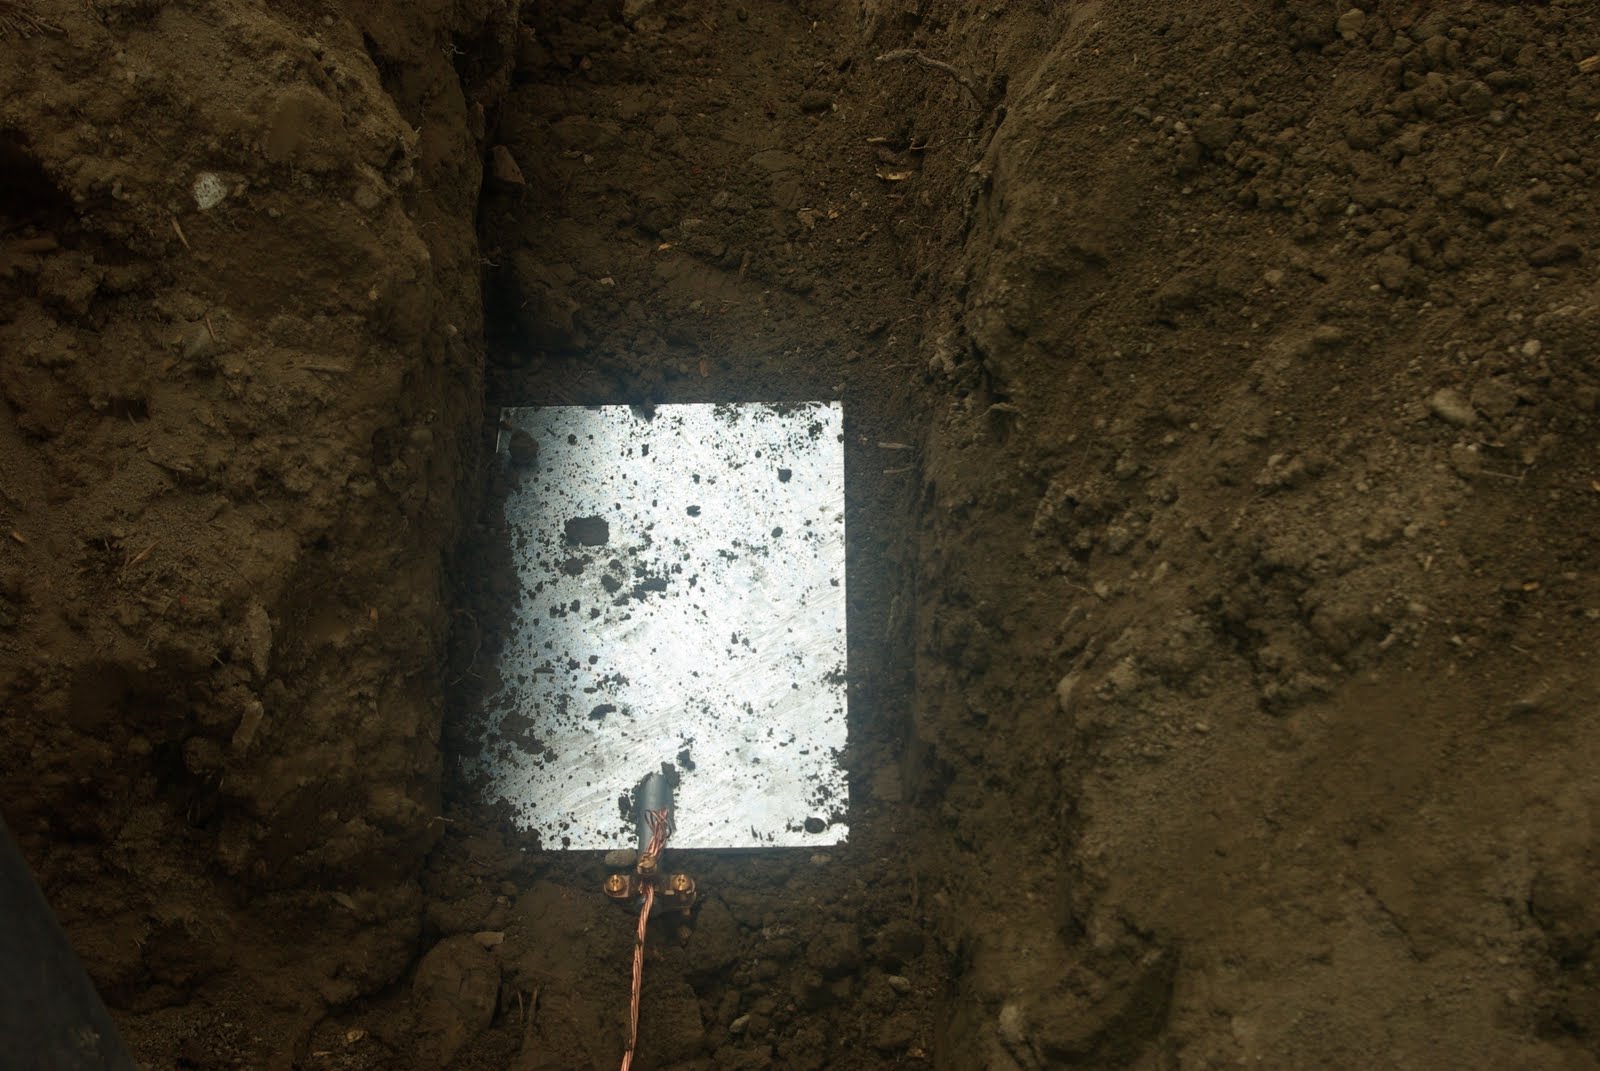
Len buried the ground plate, the drainage from all the eaves, plus telephone, cable and electricity.  Then it all got covered over.
ground plate for the electrical panel

Caution banner goes underground all along the electrical trench

Trench? What trench?
Banjo is the supervisor - carefully watching all the work being done
Today Len had to disconnect the temporary electrical panel and so we are down to one extension cord.  We are waiting for Garth's electric to come and get the permanent panel put in and our "real" electricity turned on.  For now we can use one electric appliance at a time so that we can keep the freezer and fridge going.  Also, the computer is powered up.  More later.
Cath

Sunday, July 31, 2011

More trenching and splitting


Melissa and Victoria put in another great day of slave labour.  Melissa was breaking up a chunk of concrete left behind by the pumper truck and then it was time to put the log splitter to work.  While this was going on I was finishing up the window move.  I had to move the kitchen window over 10 inches so the sink cabinet would be centered.

Take your pick
 Cath and Melissa spent a lot of time splitting and stacking our fir  that we cut up a couple of years ago
One of the many large logs for splitting

And hauled by Ms. muscles

Window work

Ten inches to the right
We were able to get Ross today for some electrical trenching

And then it was dinner time

Happy dog, happy Victoria